How to Share Forms with Clients Via Text and/or Email
RxPhoto lets you share forms with your clients via SMS messaging and/or email. With this feature, clients will not need to download any patient portal app (RxPortal) in order to fill and sign forms ahead of their appointment time. Instead, clients can fill out their forms on their mobile devices or computer simply by clicking on a link.
There are three places within RxPhoto from which forms can be shared:
The client's Face Sheet - for blank forms to be filled and signed by the client
The Forms Account Library - for blank forms to be filled and signed by the client
The Forms Client Library - for already completed forms
Sharing Blank Forms
Sharing a blank form with the Client allows the client to fill and sign the selected form(s).
From the Face Sheet
1. Log in to the RxPhoto Mobile App on the device (iPhone/iPad). (See Log In to the RxPhoto Mobile App on Your Device (iPhone/iPad) for details.)
2. Press on the appropriate Client's name to open the Face Sheet.
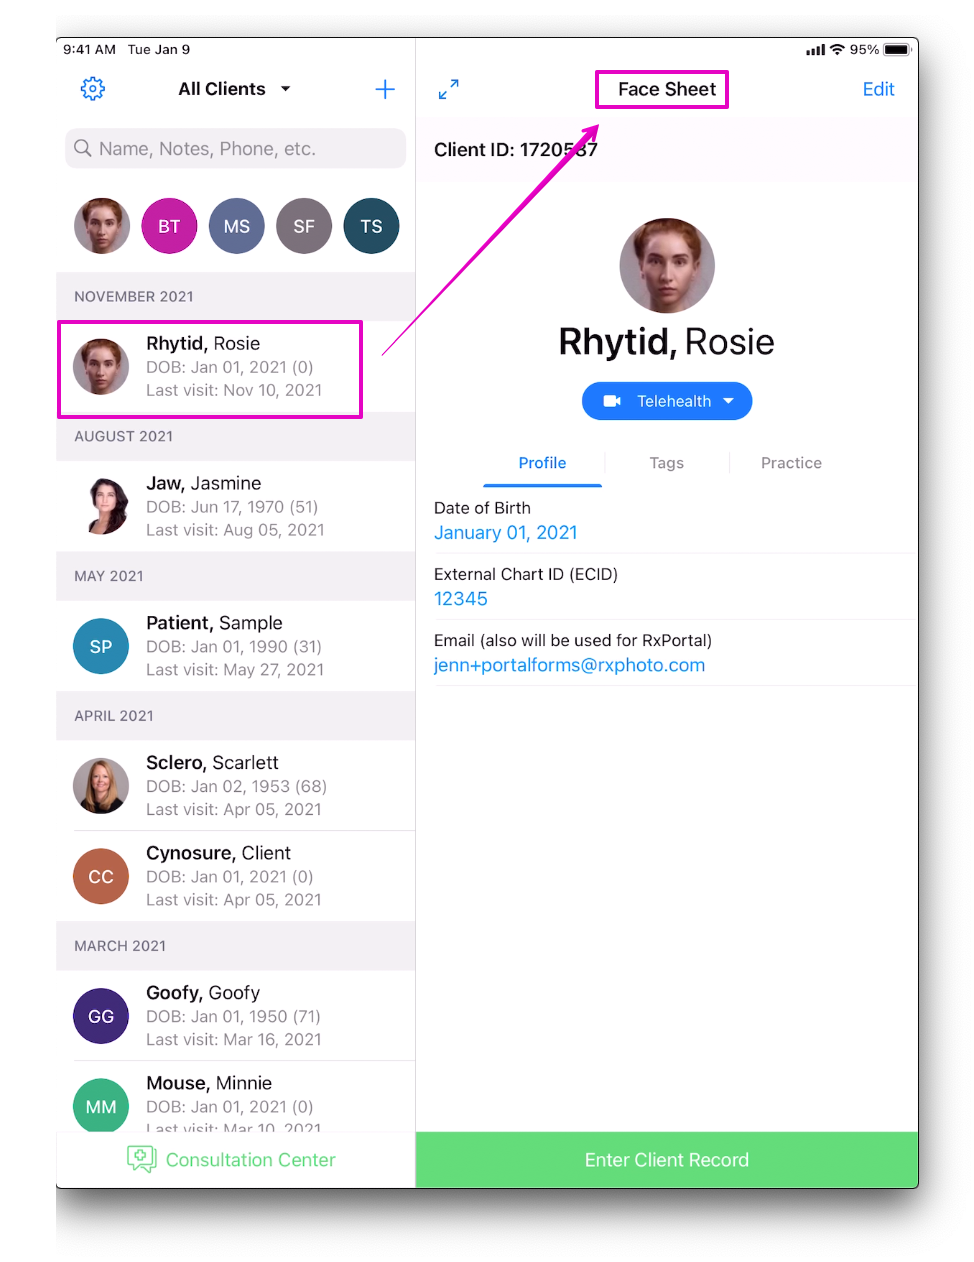
3. Press on the "Telehealth" dropdown menu.
4. Press to select "Share Forms."

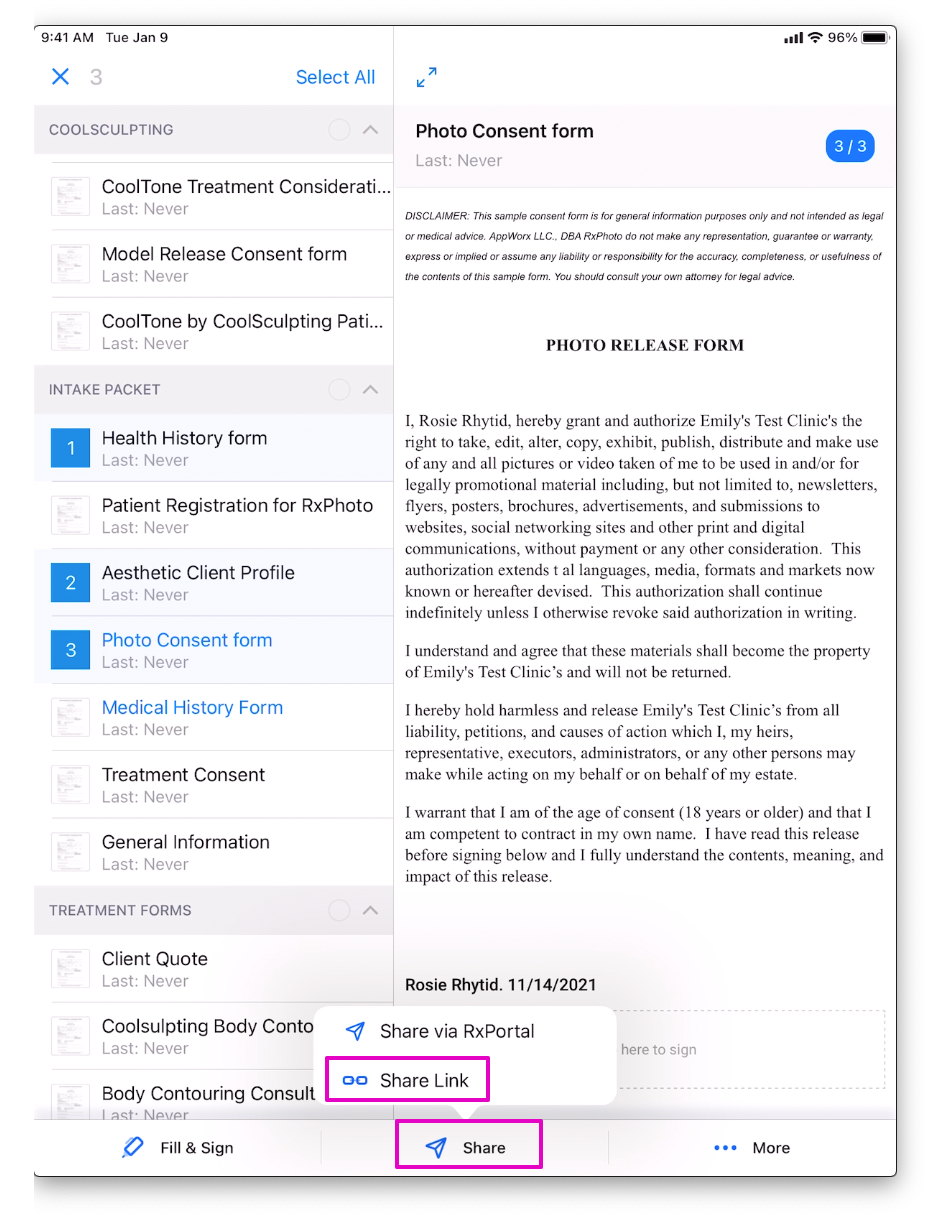
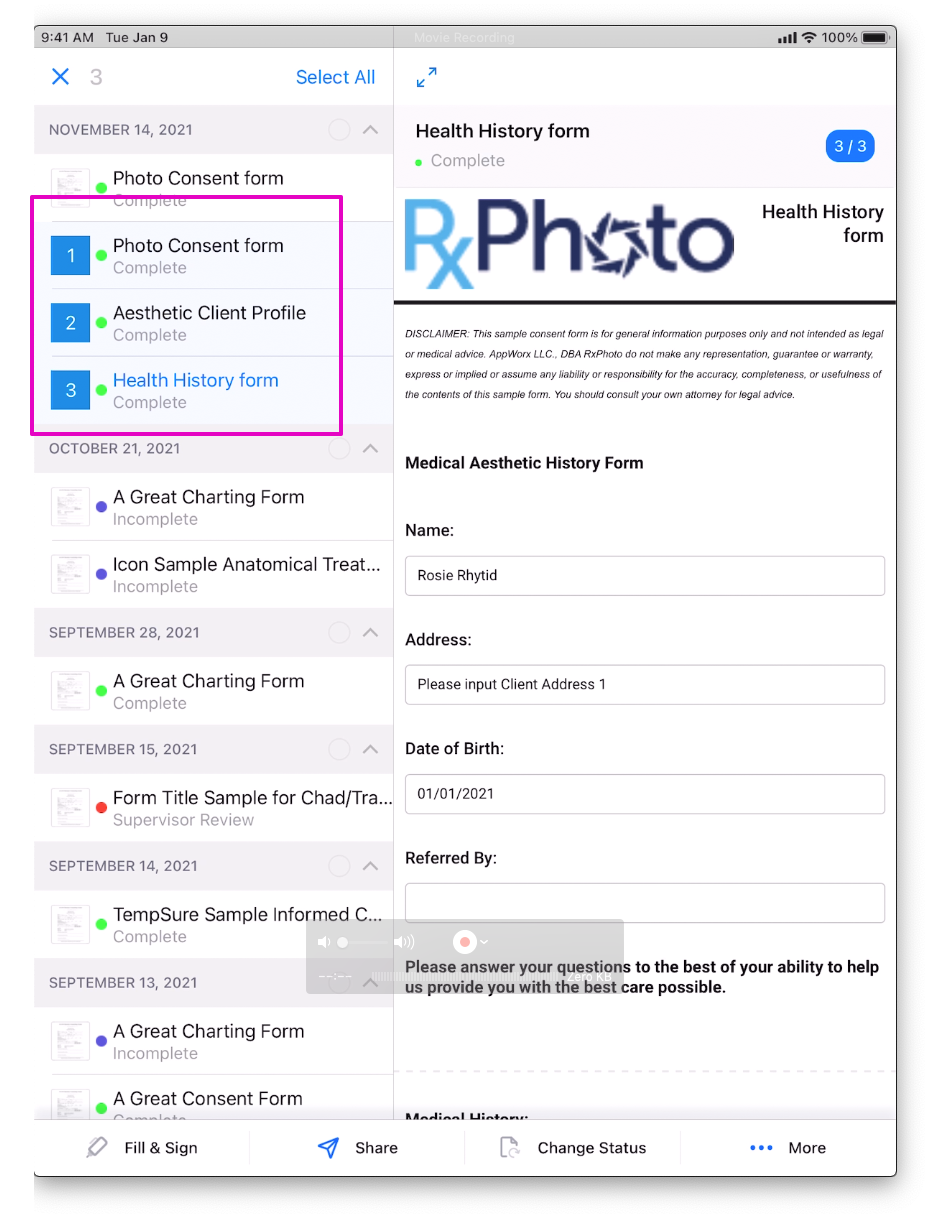
5. Press to select the Forms(s) to be shared with the client.

6. Press "Share" at the bottom of the screen
7. Press to select "Share Link."
RxPhoto displays the client’s phone number and email.
Press to select sharing the form(s) via SMS, Email, SMS and Email, or press “Update Contact” to update the client’s phone number and/or email.

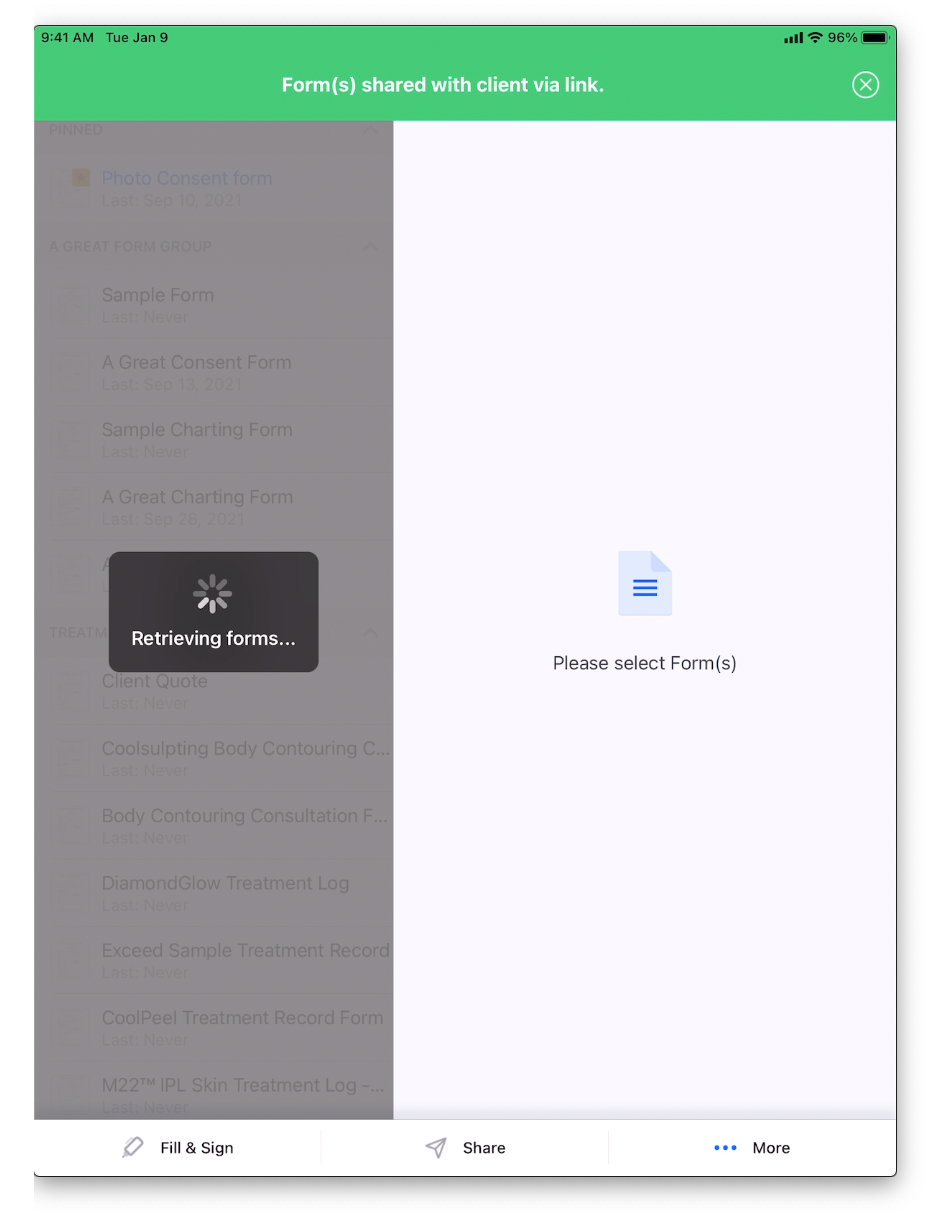
10. A success message will appear when the link has been sent.
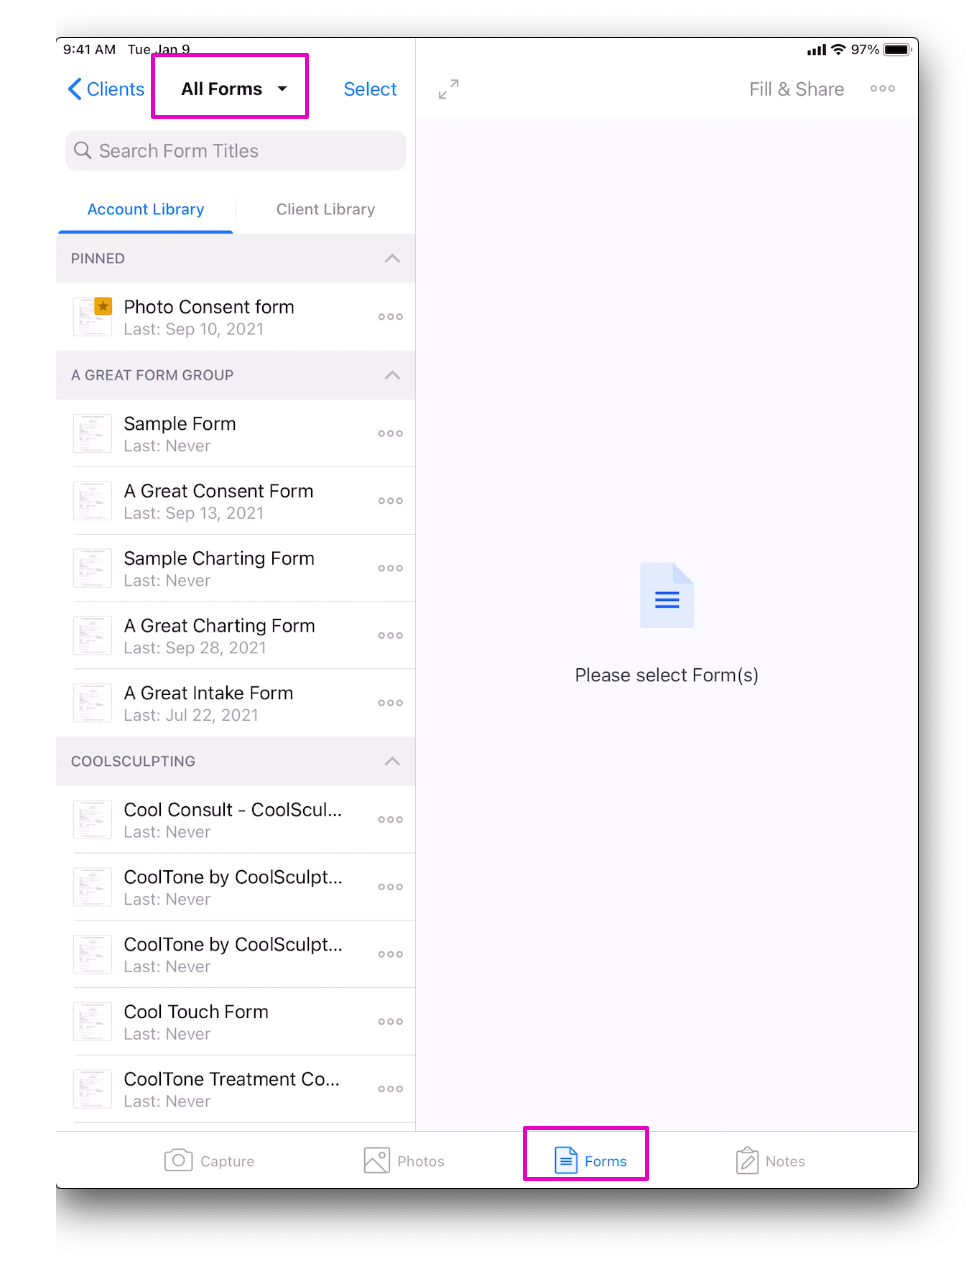
From the Account Library
1. Log in to the RxPhoto Mobile App on the device (iPhone/iPad). (See Log In to the RxPhoto Mobile App on Your Device (iPhone/iPad) for details.)
2. Navigate to the Forms Section of the appropriate Client's Record.

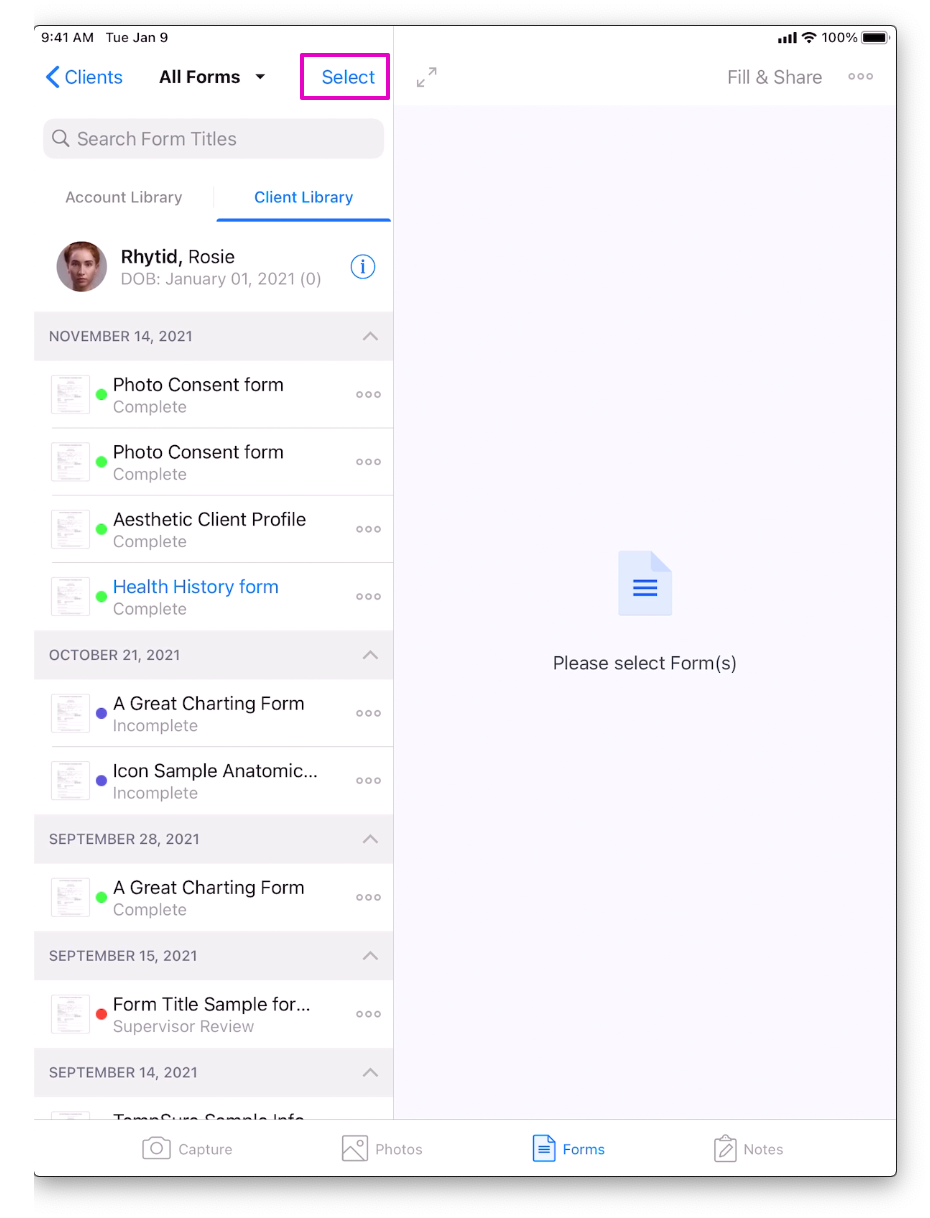
3. Press "Select" at the top of the screen.

4. Continue with steps 5 - 8 above "From the Face Sheet."
Sharing Completed Forms with the Client
RxPhoto also allows providers to share forms that are already complete with the client via SMS messaging. There are various reasons a provider may want to share already completed forms. For instance, if the provider filled out a treatment plan that they'd like the client to have a copy of, or to send pre- and/or post-treatment instructions to the client, etc.
1. Log in to the RxPhoto Mobile App on the Device (iPhone/iPad). (See Log In to the RxPhoto Mobile App on Your Device (iPhone/iPad) for details.)
2. Navigate to the Forms Section of the appropriate Client's Record.
3. Press on the "Client Library" tab.

4. Press "Select" at the top of the screen.
5. Press to select the desired forms.
6. Press "Share" at the bottom of the screen.
7. Press to select "Share Link."

RxPhoto displays the client’s phone number and email.
Press to select sharing the form(s) via SMS, Email, SMS and Email, or press “Update Contact” to update the client’s phone number and/or email.
10. A success message will appear when the link has been sent.
11. A success message will appear when the form(s) have been sent.

For the Client
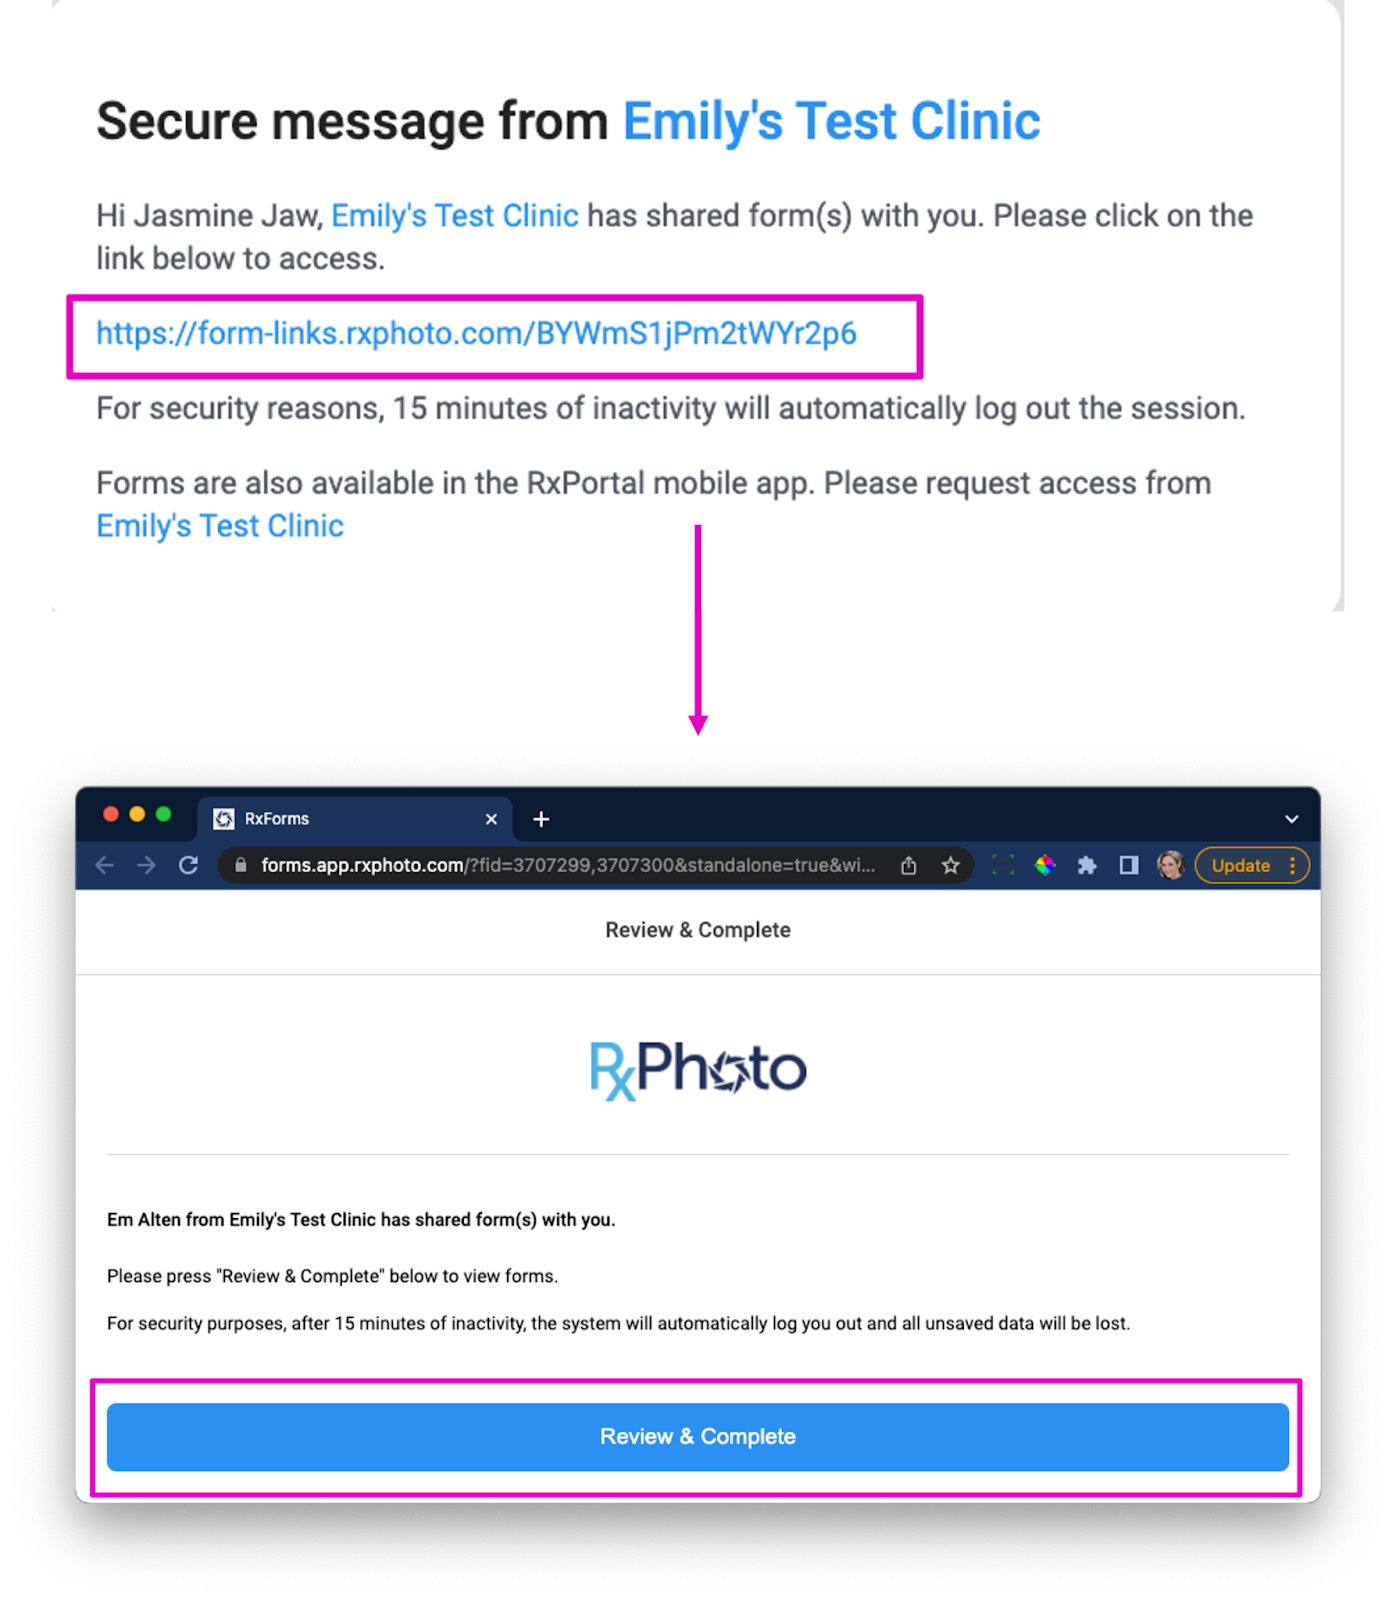
The client will receive a text message (iPhone and Android compatible) and/or email that reads, "Hi, [clinic name] has shared form(s) with you. Please click on the link below to access." Upon clicking on the link, the client will be taken to a "Review and Complete" page:
Text Message

The client may click "Review and Complete" to fill and sign all forms sent:

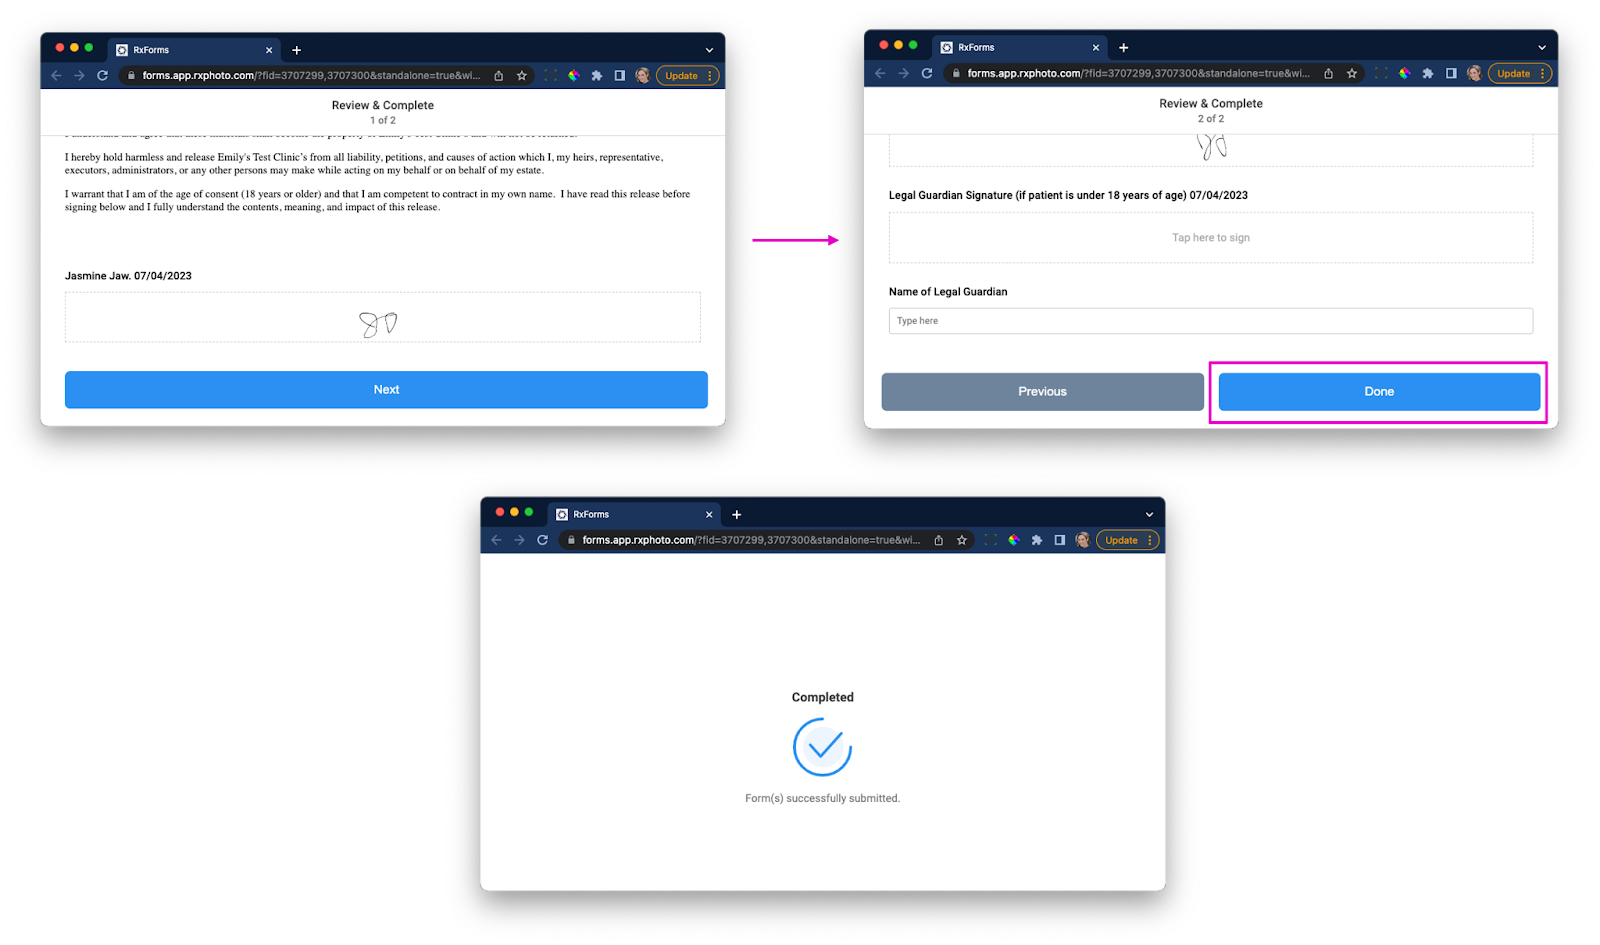
Once the client completes all forms and presses "Done," the forms will automatically be added to the appropriate Client Record under the "Client Library" Forms tab. The practice will receive a notification that forms have been submitted.
Related Articles
How to Share Forms with Clients Via SMS Messaging and Email
RxPhoto now allows providers to share forms with their clients via SMS messaging or email. With this feature, clients will not need to download any patient portal app (RxPortal) in order to fill and sign forms ahead of their appointment time. ...Invitation Text and Temporary Password
When invited to RX portal by text, clients will get two messages. The first is the invitation with a link to the Portal. The second text will provide the client with the email address to login along with a temporary password to use on the first ...Sharing Forms with Clients
For the Doctor There are three ways to share forms with your client. The first is directly from the client’s Face Sheet. Tap Telehealth. Tap Share Forms. Choose the forms you want to share and at the bottom of the screen tap Share via RxPortal. The ...Share Images via RxPortal
To securely share photos with your clients, first go to the photos section in the client's records. Choose the photos you want to export by tapping Select at the top of the screen, and then tapping the photos. Then tap the ellipsis at the top right ...Inviting a Client to RxPortal
For the Doctor From the RxPhoto app, clients can be invited to the RxPortal from their Face Sheet. After selecting the client, tap Telehealth, then tap Invite to RxPortal. If your client has an email address in their record, it will display in the ...